3D Level Editor
- cajjita
- Mar 10, 2017
- 5 min read

Hustle Hobo - Dev Blog #001 : 3D Level Editor
In our game, the player takes the role of a magical store keeper. Their goal is to use their managerial skills and tools provided to keep their store running. Off the bat, there are dozens of factors to consider for prototyping such a game; such as reward, accessibility, balancing, and- though often overlooked- environment. Though some mechanics were implemented, they didn’t mean much without a level to test them in.
My approach to this problem was to design a 3D Level Editor to rapidly prototype varying spaces, metrics, scenarios and even speed up the final stages of developing the store when we get there. Be warned that the current state of the Level Editor isn’t considered to be a final version, but more of a tool designed with the assurance that the time spent on developing it would be worth the time saved by using it. As such, I made the decision to trade clarity for efficiency. At least for now.
The Problems:
Needing to rapidly test store layouts in a short period of time.
Creating a smoother workflow than Unity’s default Editor.
Budgeting time towards in-game code.
What It Does
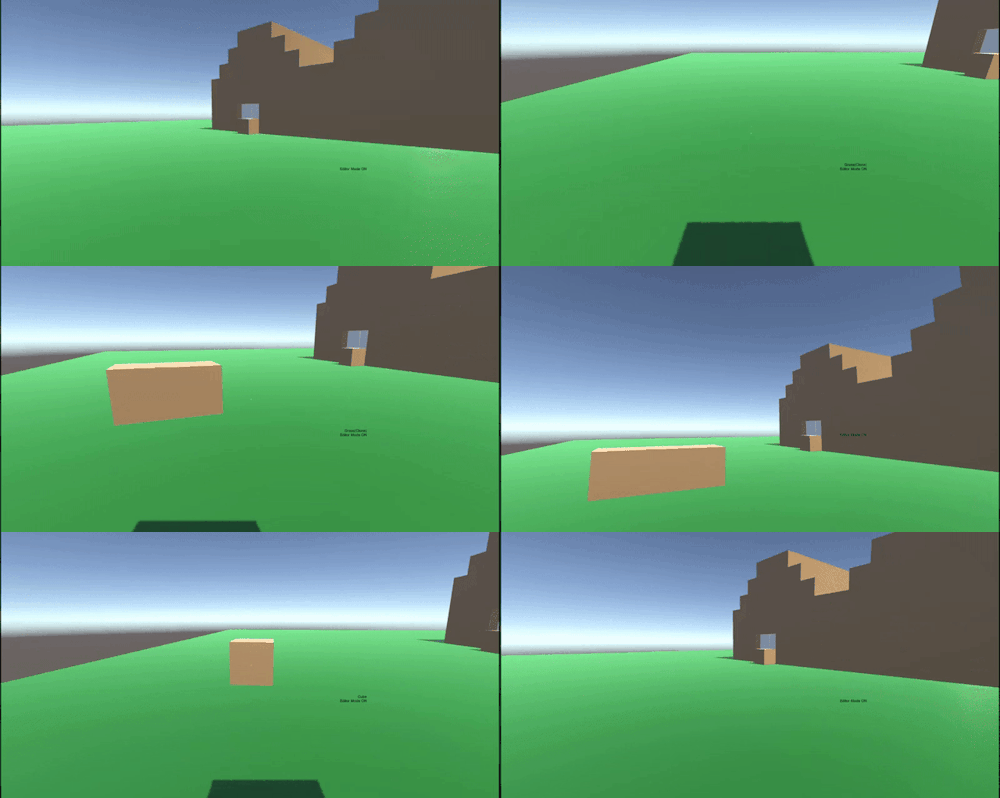
The 3D Level Editor can be imagined as a Minecraft-based system on the surface, but with modified features. Its most basic function is point-and-clicking to add or remove blocks. However, this is only one of the three ways to use it.
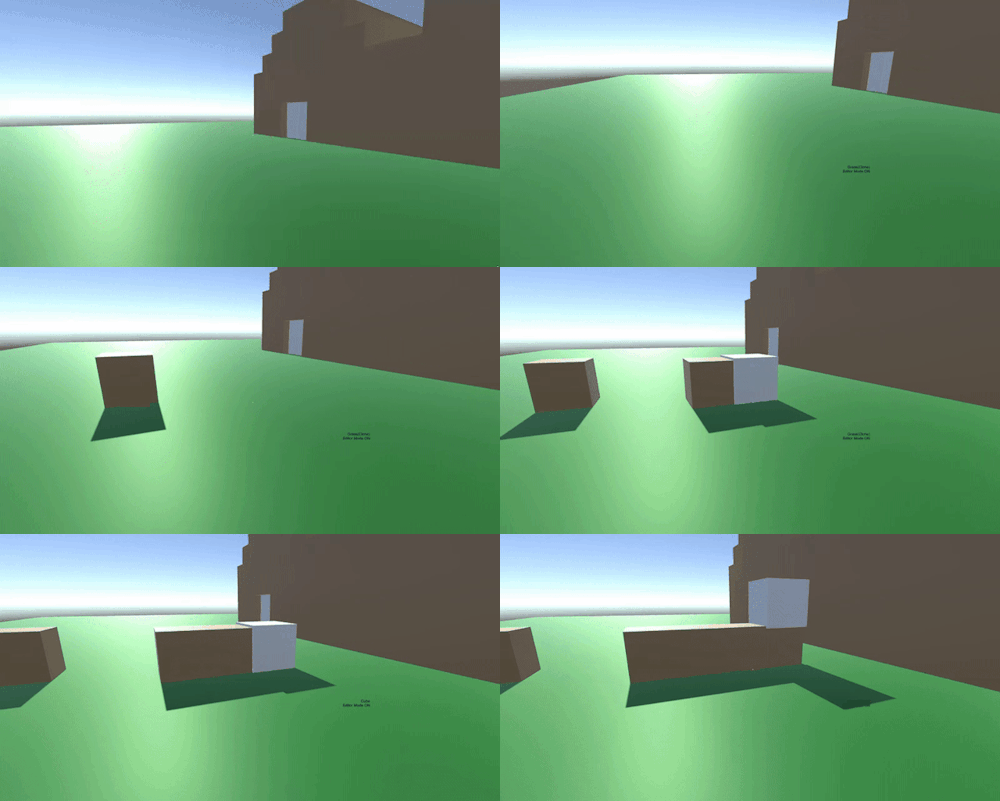
Alternatively, you can use the “Quick-Actions” to layout your blocks entirely using the keyboard. This is faster for long or repeating patterns, but can be less effective for intricate patterns that may be easier to be done manually.
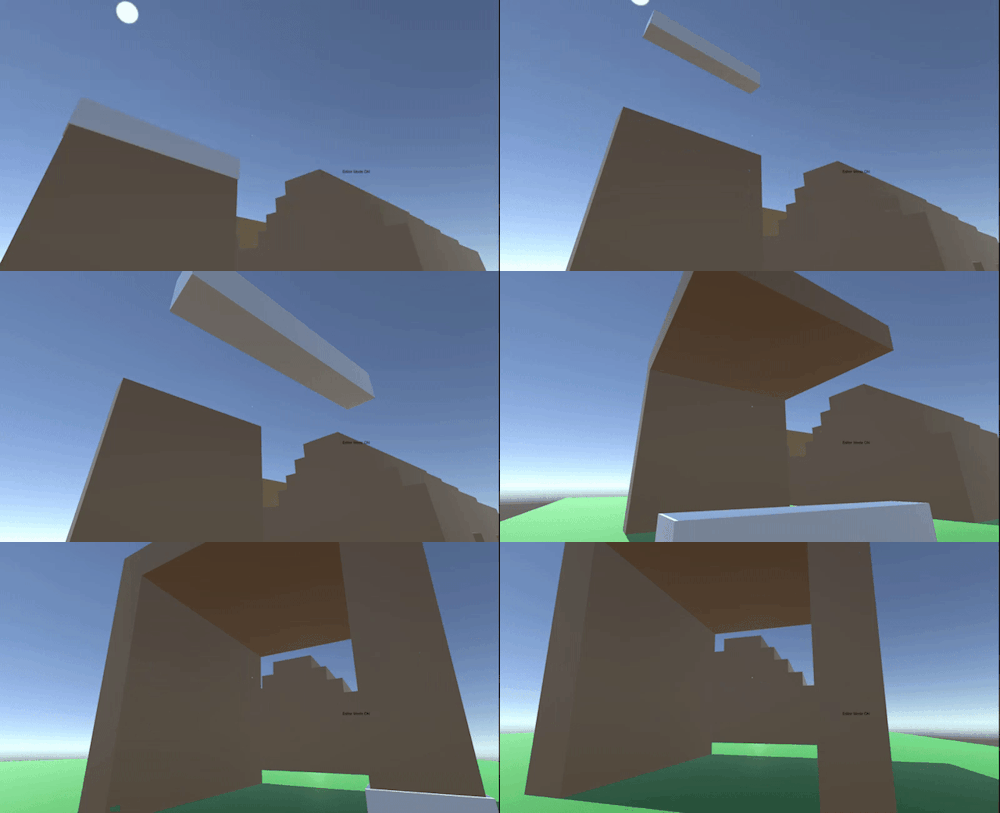
The third way is an extension on the previous Quick-Action. By holding Shift, the Level Editor selects all newly placed blocks (including the origin blocks), and can thus be used for producing sheets of blocks for things such as walls or ceilings.
How It Works
Depending on your experience with such systems, you may be thinking this Level Editor is an intricate piece of work, or you be thinking it’s a poorly designed prototype. Both are valid, but only to a degree. The truth is that the basic functions are more intricate and technical, whereas the extra functions were quickly designed and conceptually simplistic.
Block on Block
When I noted the speed and level of complexity that players are able to build houses in Minecraft, I knew I wanted to use it as the base reference.
Similarly, in order to build, you need something to build off of. To solve this problem, I created the option of generating a ground to build on. It’s important that the ground is generated using a grid-like algorithm because each “point” of the ground must have its own Vector position for the user-placed blocks to build on top of.
Now that there’s something to work with, the concept of placing blocks at the crosshair location seems easy enough, but there’s more to consider than one may expect. In order to get the correct orientation and placement of the newly spawned block, you must:
1. Calculate the crosshair location using a Raycast. Use the mouse position converted from screen to world or the camera’s position (as I did) as the ray origin, then use the camera’s forward direction as the ray direction.
2. Calculate which side of the object you’re looking at. I did this by checking the X, Y, Z axis of the hit point and comparing it to each of the specified object’s axis. Because I was using 1x1x1 blocks, I used a range of -0.5 to 0.5 for each axis, but the range should scale-adjusted to encompass different block sizes if used for other purposes. If the Raycast’s hit.point axis value is equal or passed the object’s axis value of 0.5/-0.5, then you know the player is looking at that respective face of the block. This check will have to be repeated individually for each axis until the face is determined.
*See diagram above
I also used an ulterior GameObject called “HollowCube” to help contain the active position at all times, then when a block is spawned, it’s simply spawned at the HollowCube’s position.
Not too much work to ask for, but more than expected for such a simple outcome. This worked as a base, but still feels inefficient, as it requires the designer to run around and build in real time. To solve this, I implemented the Quick Actions feature.
Quick Actions
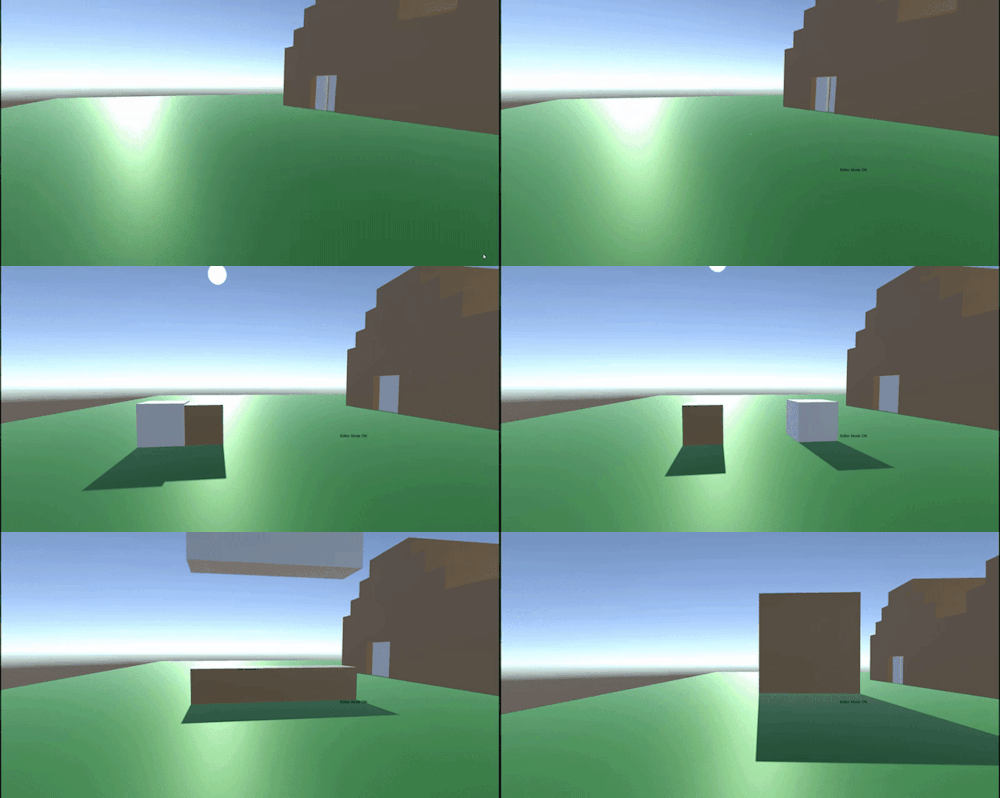
To solve the issue of overly-manual labour, special functions can be implemented to speed up the process. The first action I chose to implement was the ability to extend on newly placed blocks using the arrow keys to select a direction and Enter to spawn the extended block. I also used PageUp and PageDown to control the length of units to extend. I coded the adjustable length by using a simple loop to spawn blocks in the direction of the extension; the loop amount should be equivalent to the chosen length value. This allows users the possibility of building structures using only their keyboard and not needing to have vision of every face they wish to build on.
There is however, a problem with this that may not be too obvious. I chose to use the arrow keys to decide which direction to extend in, but each block has 6 directions to extend in. Instead of changing the layout, I made the design choice to have the left and right arrows swap between Left and Back, and Right and Forward depending on if the key is pressed once or twice in a row. Without aided clarity it can be confusing for a while, but over time becomes muscle memory.
Along with the extending Quick Action, I also wanted the designer to be able to highlight multiple blocks for mass-extending in the case of creating things like walls. I figured that instead of having the user manually highlight blocks, I’d code it so you can highlight all newly spawned blocks automatically. This of all things was the simplest to implement and merely required a List and a loop to handle mass-extending. However, I also implemented a ClearSelected() function to clear the list and disable highlights on the blocks.
It should be noted that because the script only runs in Play mode, the designer will have to copy the blocks from the Hierarchy, stop running the game, then paste the GameObjects back into the Hierarchy for them to be saved.
Why it’s Useful
As you can see, the current state of the code is visibly rushed- and for now that’s a good thing. With a deadline in mind, as long as the tool works as needed, there’s no reason to refine it since the player will never be able to see it. It only took one night out of the schedule to design and code this version of the Level Editor, but allows us to make rapid changes that may have otherwise been too difficult to pull off farther into development.
Adapting For Other Projects
There’s also the factor of incorporating these scripts or concepts into other games. I’ve already began working on prototypes that are based on or share code from this specific 3D Level Editor. I’ve even converted the concept into a 2D Level Editor that instead allows the designer to draw their levels from a top-down (or side) perspective using a line-tool design.


Comments